How do you turn an idea into a final product?
Every designer and design agency has their own approach to the design process. Different things work for different people, and different agencies have different models that contribute to their agency’s brand. This is part of the beauty of the design world: everyone has their own way of taking an idea from concept to creation, and that’s totally acceptable, expected even. ocreations has our own version of the design process that we call “Process Orange,” which you can read about in greater detail on our Process Orange page. Generally speaking though, the design process is going to involve personal variations of the steps below.
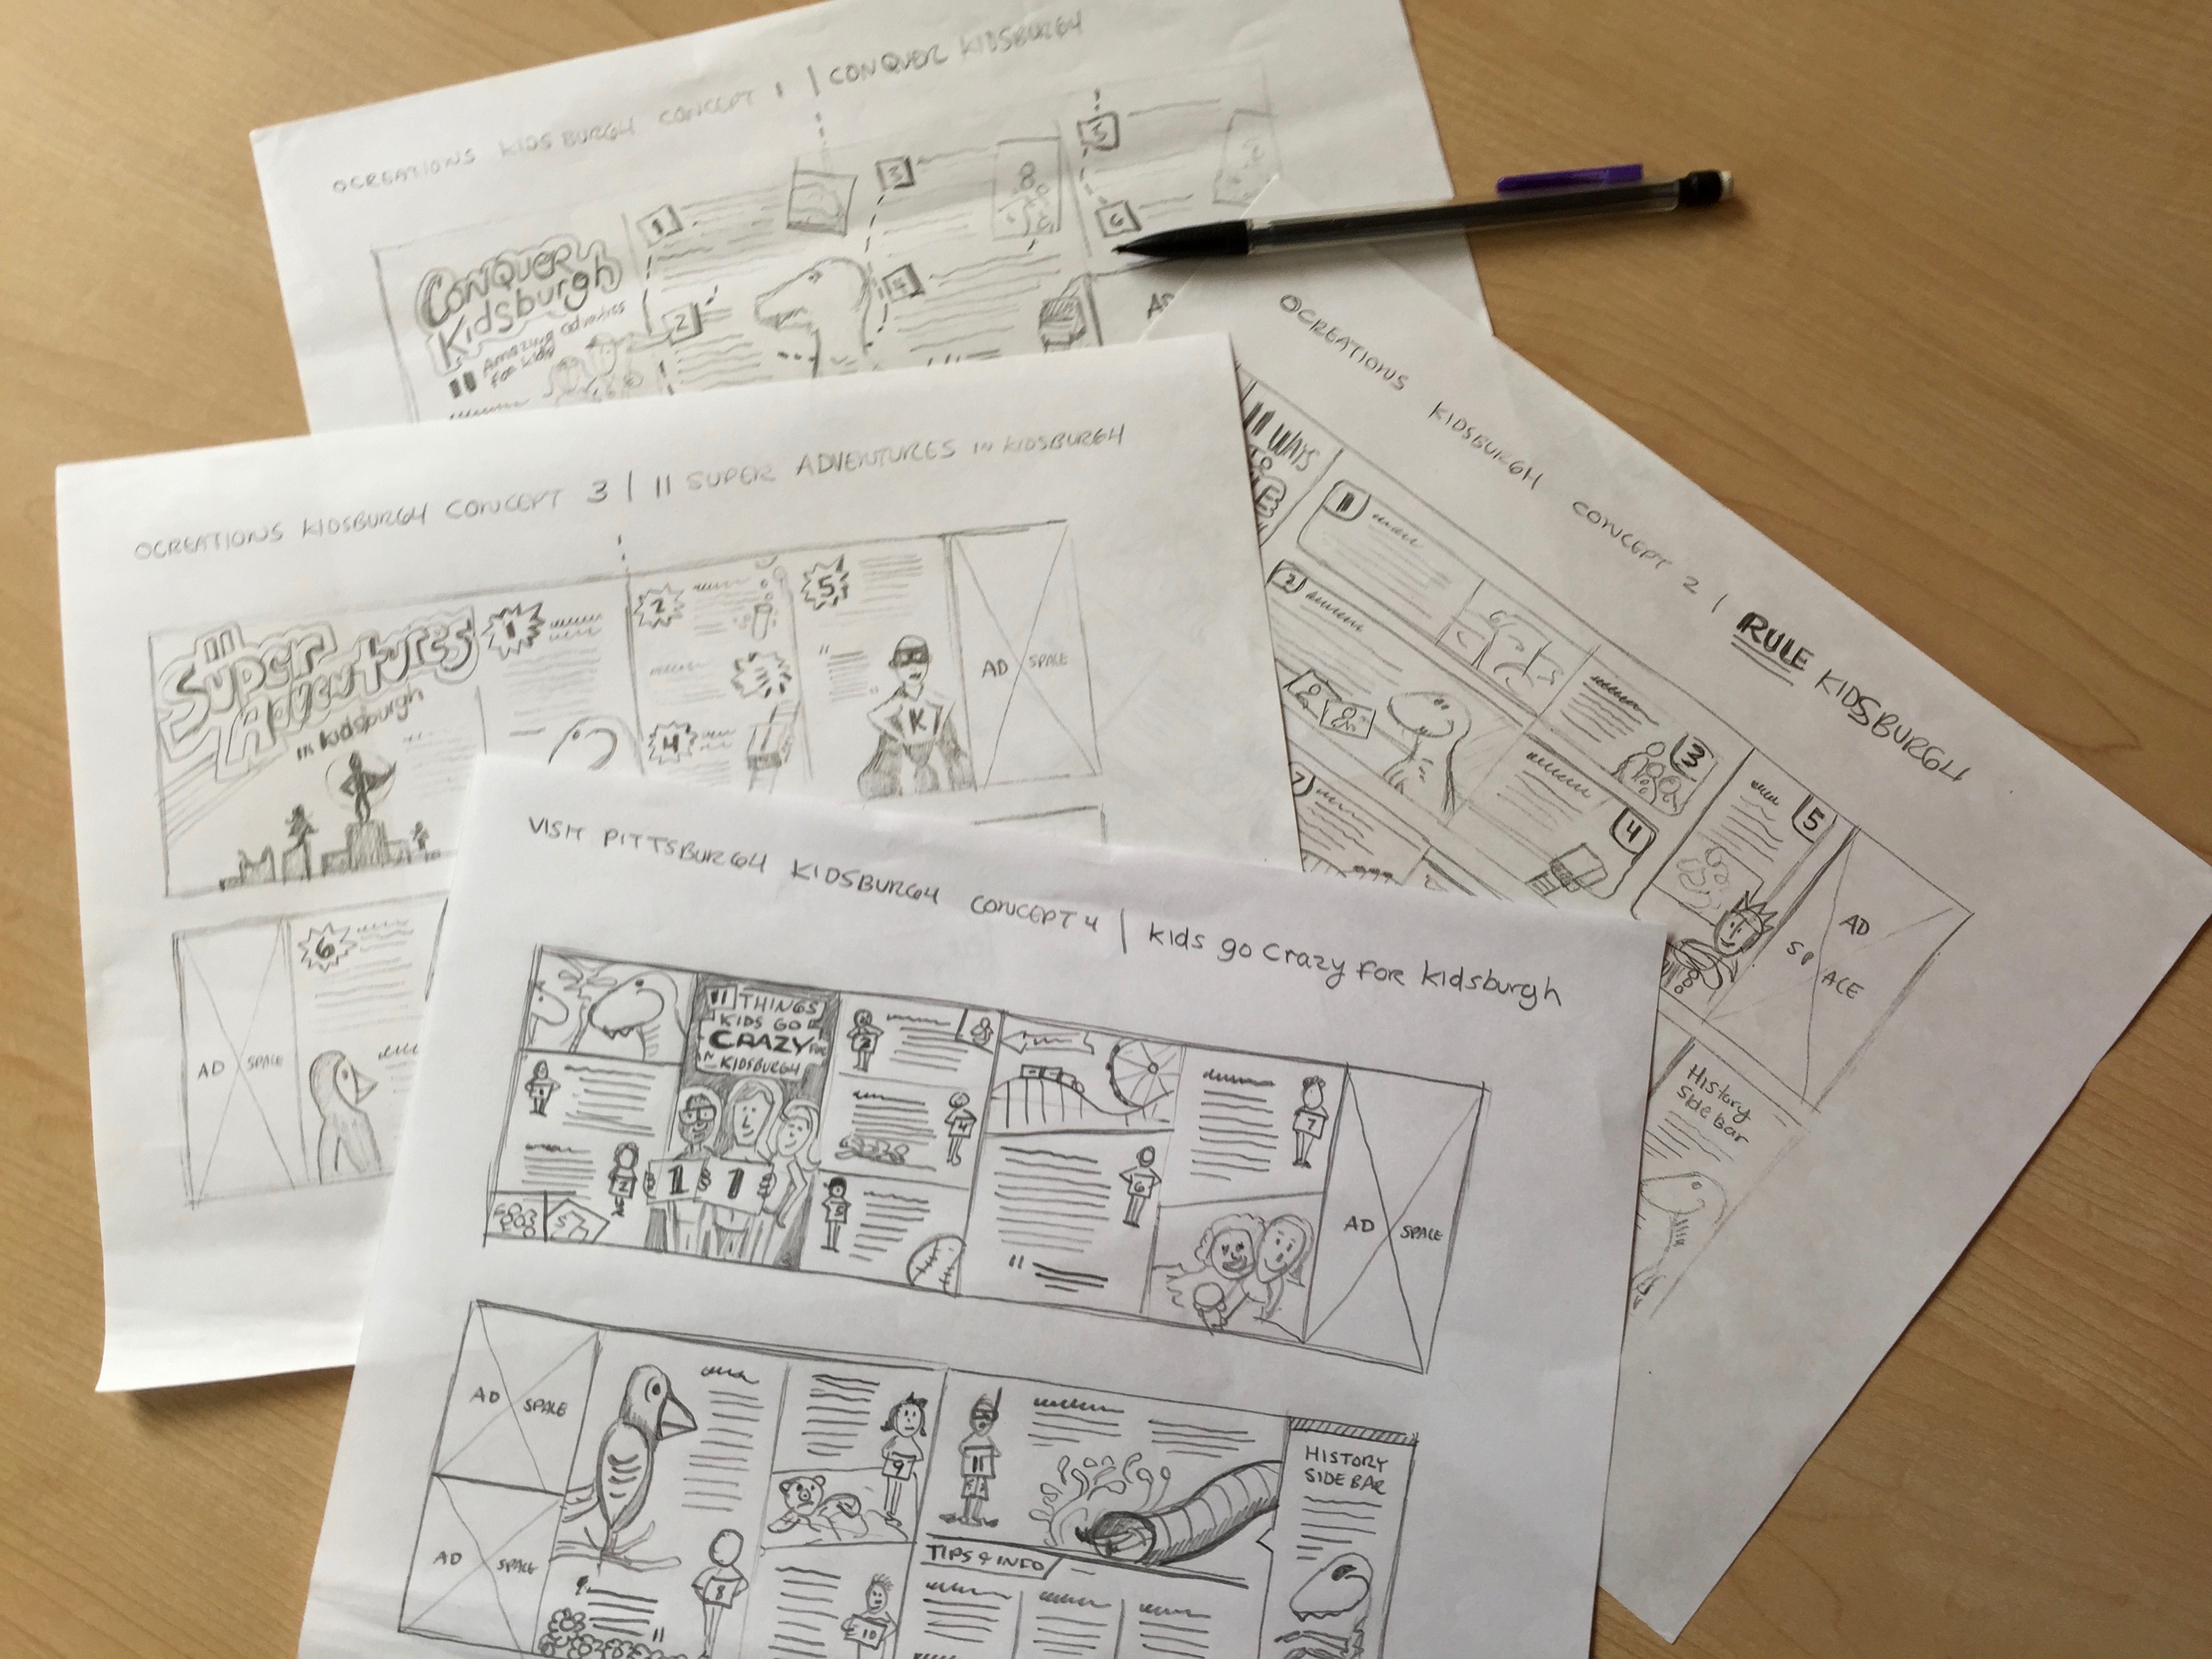
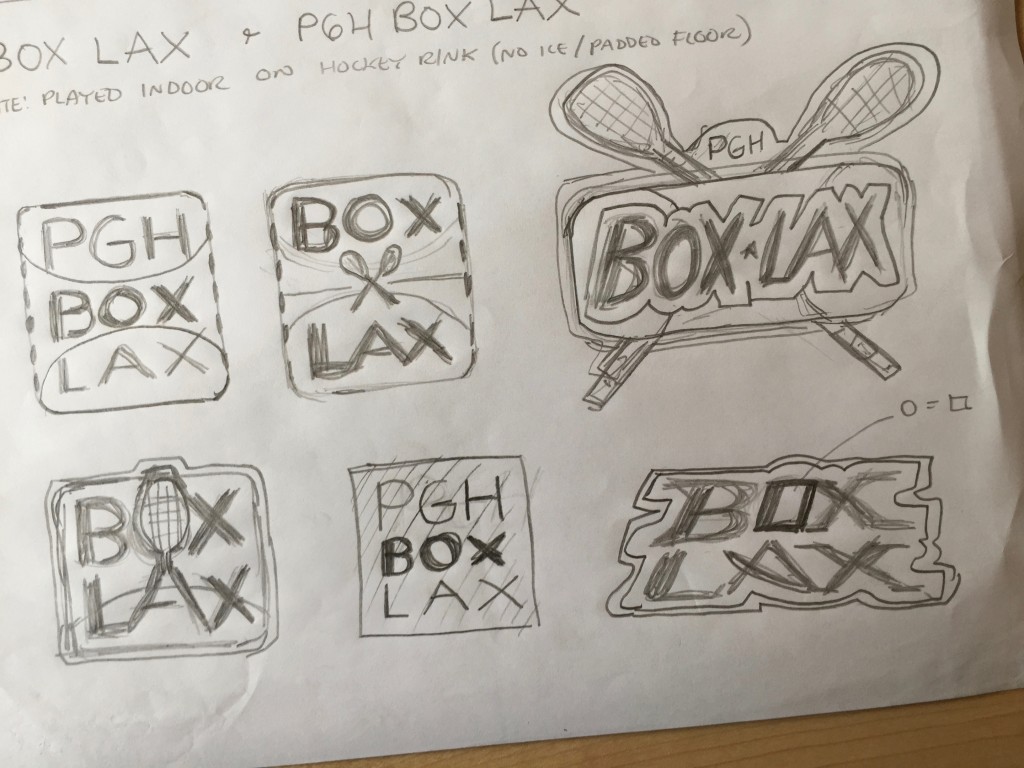
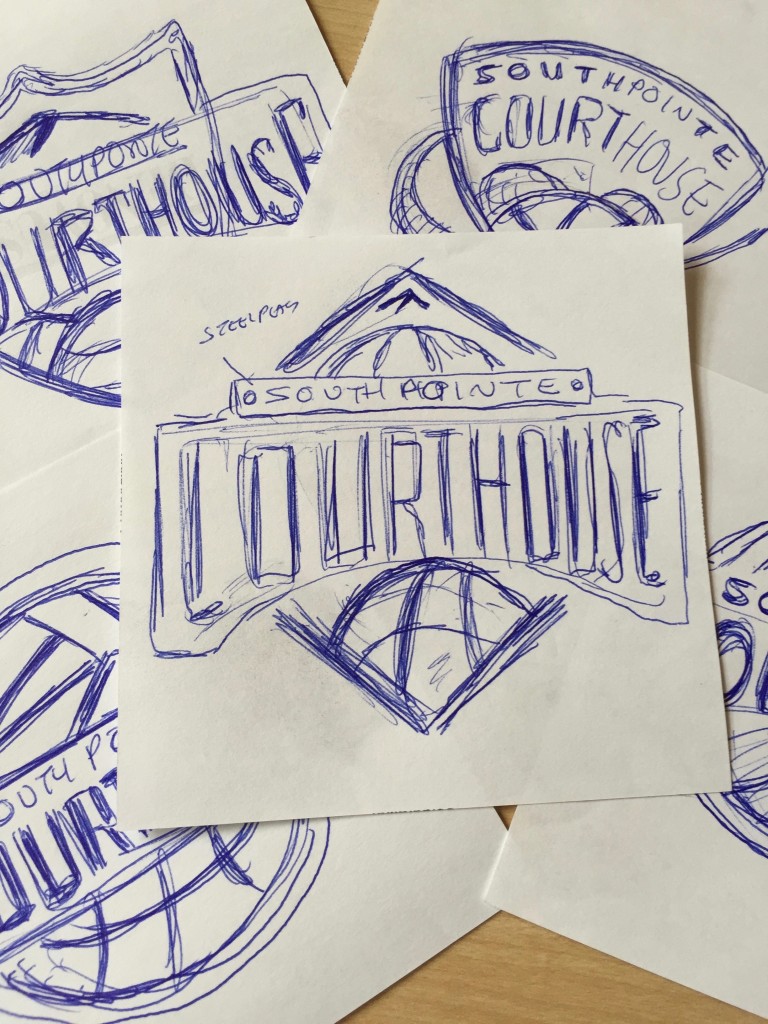
For this blog post, when we say we’re talking about taking work “from concept to creation,” we’re talking in particular about the progression of designs from the pencil sketches stage (Step 4), to the final creation of a deliverable product (step 7). We’d be remiss if we talked about the graphic design process without providing any visuals, so we’ve included some images of our own work at these stages for two different clients to help illustrate.
1. Get to know the client
2. Research – What’s going on out there? What’s working, what’s not, what competitors are doing, what consumers want to see, etc. If you’re a thrill-seeker, consider this a reconnaissance mission.
3. Brainstorm – Get out that thinking cap! Once you think you’ve finished brainstorming, brainstorm some more. Have fun with this step, and let the creative juices flow!
4. Pencil sketches – Yes, use a pencil, the “old school” method still works. There’s a lot more freedom with drawing by hand, which is helpful when you’re just trying to get the ideas out of your head and onto paper.
5. Digital sketches and digital variations – Time to experiment!
- There are a few phases in this stage, and a lot of communication back and forth with the client. You need some preliminary digital designs that are fairly different from each other to figure out the particular look the client is going for. S/he will likely (hopefully!) pick out one or a few favorites. Then, you go back and create variations of those, show them to the client again, and narrow it down once more. What happens if the client doesn’t like any of the digital designs? Well, you start all over again! Repeat as many times as necessary until the design is perfect and the client loves it!
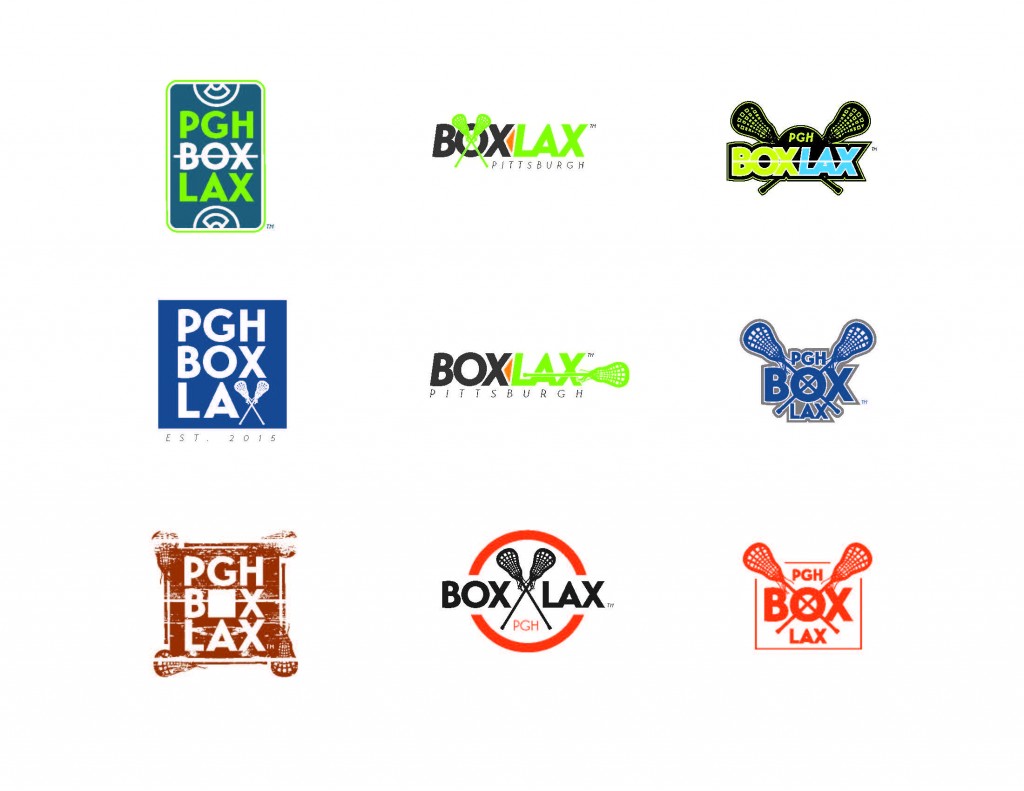
Early digital designs for PGH Box Lacrosse: You can tell these are early digital designs because there are a lot of different colors, typefaces, shapes, etc. being used.
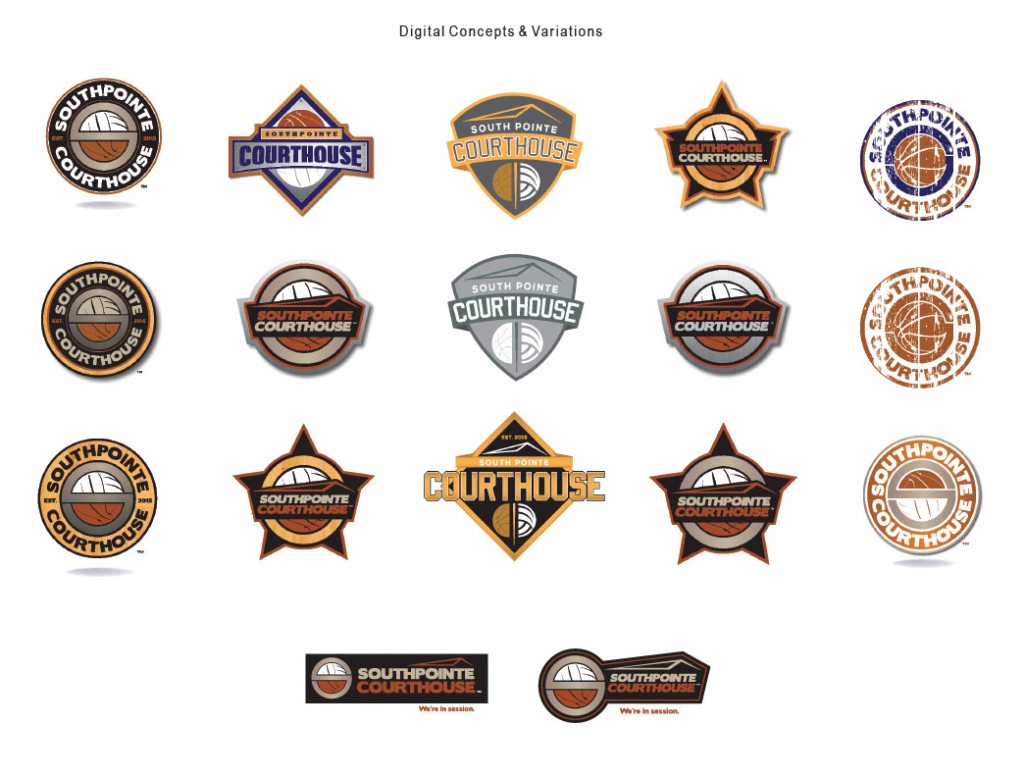
Narrowed down designs for Southpointe Courthouse: You can tell these digital designs are in the later part of the digital concept stage because they are all variations of the same general look.
6. Application testing – How will the design look on the final products? This can involve anything from Photoshop mock-ups to actual proofs of the design on whatever application best suits the client and products.
7. Creation, final production, and delivery – Mission accomplished. Feel free to say, “Ta-daa!” when unveiling the final products.
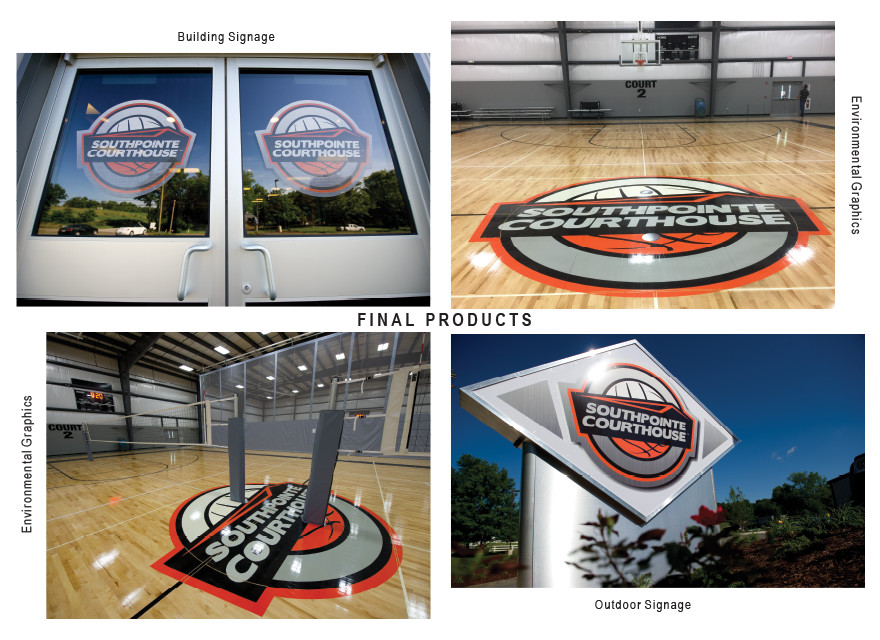
Delivery: These are just a few of the final products created using the final logo design for the Southpointe Courthouse.
And there you have it: design completed! We hope this post provided you with some insight into the process of taking an idea from a pencil sketch to a final product, and gave you a tiny glimpse of what we do here at ocreations. Remember, if you’d like to read a more in-depth description of how we handle our work with and design for clients, be sure to check out our Process Orange page!
